Payroll Canada is an add-on to ActivityHD's Payroll package. In particular, Payroll Canada supports creation of T4 slips in printed and electronic form and also produces Records of Employment.
T4 slips are the year-end tax documents distributed to employees in Canada.
Prerequisites
Before you can print T4 slips the first time, some setup is required.
Both the Payroll Canada and Human Resources packages must be installed.
The built-in Canadian groups must be assigned to appropriate PRCodes.
Tax entities must be assigned to appropriate income tax PRCodes.
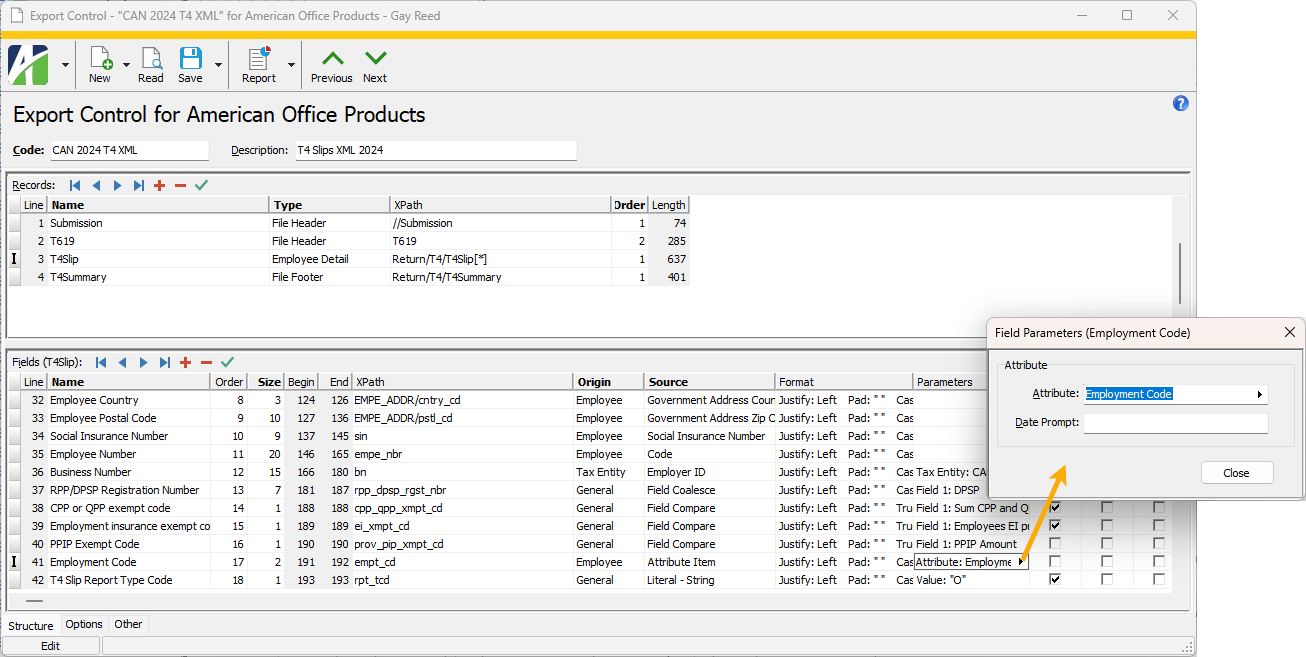
An "Employment Code" attribute must be created and assigned to appropriate employees. Define the following attribute items for the attribute:
11 - Placement or employment agency workers
12 - Drivers of taxis or other passenger-carrying vehicles
13 - Barbers or hairdressers
14 - Withdrawal from a prescribed salary deferral arrangement plan
15 - Seasonal Agricultural Workers Program
16 - Detached employee - Social security agreement
17 - Fishers - Self-employed
An "Employer Dental Code" attribute must be created and assigned to employees. Define the following attribute items for the attribute:
1 - Not eligible to access any dental care insurance
2 - Payee only
3 - Payee, spouse and dependent children
4 - Payee and their spouse
5 - Payee and their dependent children
The attribute and attribute items are available for import using the "Employer Dental Code attribute.XML" and "Employer Dental Code attribute items.XML" files available in the ActivityHD distribution. (Import and activate the attribute first; then import the attribute items.)
Caveats
All compensation must be Canadian (no US compensation or other country).
Only one T4 per employee. In other words, an employee may not have changed province or territory during the year. This circumstance needs to be handled outside of ActivityHD.
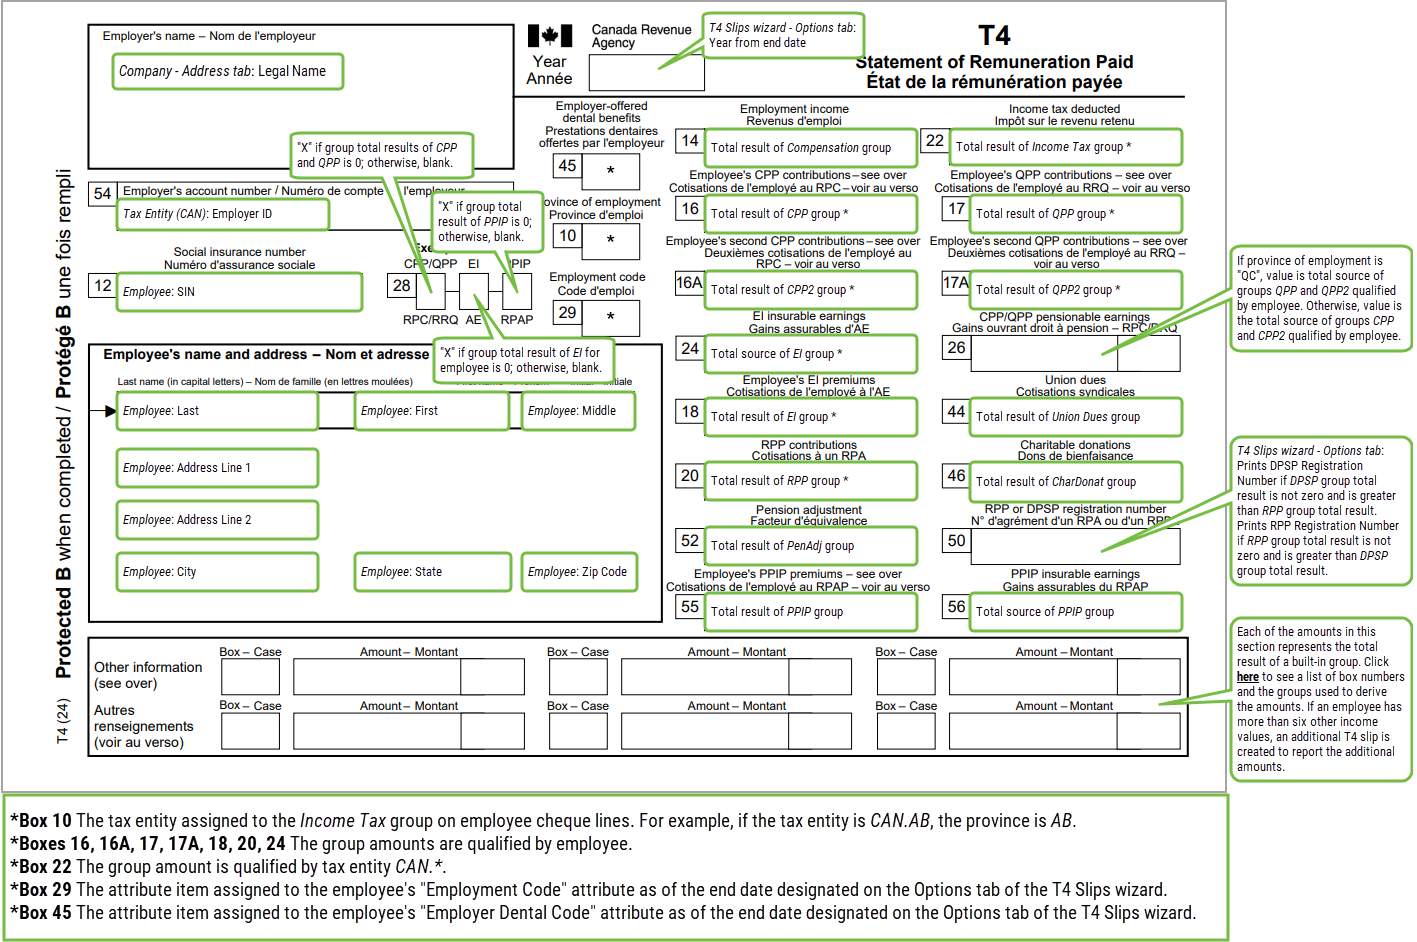
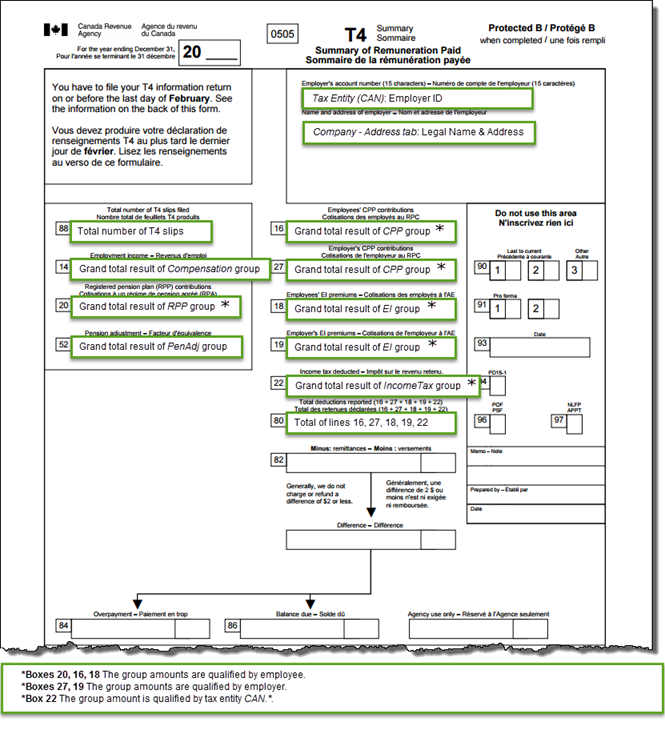
Where in ActivityHD does the information on the T4 slip come from?
The following image depicts how ActivityHD derives the information that prints on the T4 slip.
Note
ActivityHD can print up to 24 "Other" amounts by using overflow forms; i.e., amounts 1-6 print on the main form, 7-12 on the first overflow form, 13-18 on the second overflow form, and 19-24 on the third overflow form. The electronic file, however, allows only six "Other" amounts.
Both the Payroll Canada and Human Resources packages must be installed in order to generate T4s.
To generate T4s:
Generate and print T4s for Canadian employees
In the Navigation pane, highlight Payroll/Human Resources > Employees
Start the Generate T4s wizard by one of the following methods:
To generate T4s for all or a filtered subset of employees:
Right-click the Employees folder and select Select and Generate T4s from the shortcut menu.
On the Selection tab, define any filters to apply to the data.
To generate T4s for specifically selected employees:
In the HD view, select the employee(s) for which to generate T4s. You can use Ctrl and/or Shift selection to select multiple employees.
Select > Edit > Generate T4s or right-click on the selected employees and select Generate T4s from the shortcut menu.
To generate a T4 for an individual employee from the Employee window:
In the HD view, locate and double-click the employee to generate a T4 for. The Employee window opens with the employee record loaded.
Select > Edit > Generate T4s.
Select the Options tab.
In the Begin Date and End Date fields, enter the range of dates for which to select data to include when generating the T4s. Then fill in the appropriate RPP Registration Number, DPSP Registration Number, Employment Code Attribute, and Employer Dental Code Attribute.
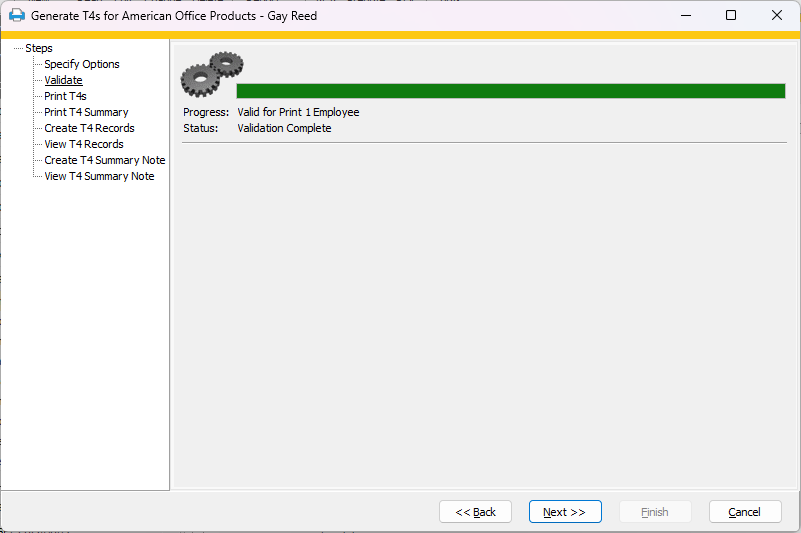
Click Next >>. ActivityHD validates the T4 information and reports any errors or warnings.
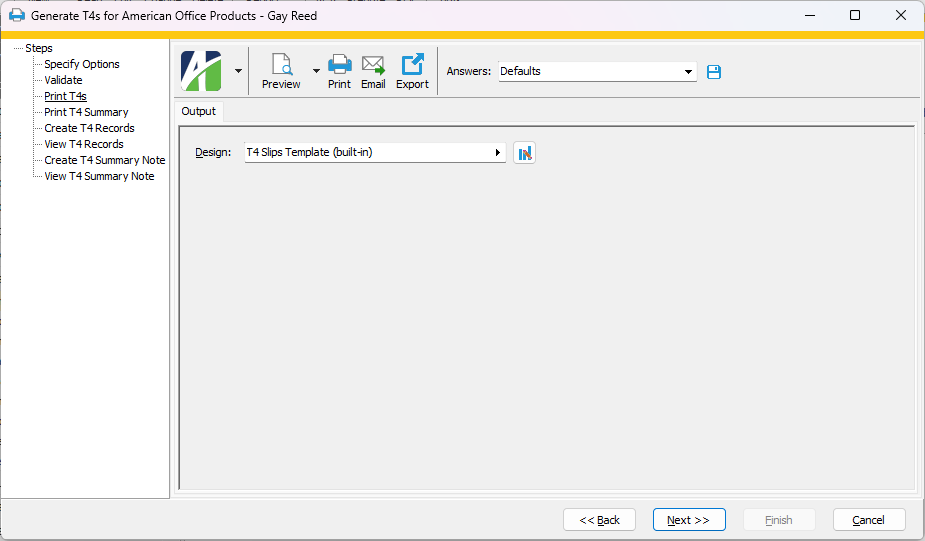
Click Next >>. In the Output tab, choose the form you want in the Design field. There are four built-in designs for T4s:
T4 Slips Template
T4 Slips Template pre-2023
T4 Summary
T4 Summary pre-2023
Tip
If you're printing hard copies of the T4 forms, correctly load the paper in the printer and print a test copy to check for proper alignment before committing to printing all the forms!
In the toolbar, click the icon for the type of output you want:
- Provides access to two preview options.
Preview - Click the icon or click the drop-down arrow and select Preview from the drop-down menu to view the report in the Crystal Reports viewer.
Preview to PDF - Click the drop-down arrow next to the icon and select Preview to PDF to view the report in the PDF reader.
- Opens the Print dialog so that you can select and configure a printer and then print a paper copy of the report.
- Opens the Report Email dialog so that you can address and compose an email that the report will be attached to. For best results, ensure your email client is running before you attempt to send a report via email.
- Opens a drop-down menu with two export options:
Export Report - Opens a dialog so that you can save the report to a file. File types include Crystal Reports (.rpt), PDF (.pdf), Microsoft Excel (.xls), Microsoft Word (.doc), rich text (.rtf), and XML (.xml).
Export Data - Opens a dialog so that you can export report data to XML or JSON file format.
From
The email account from which to send the email. Valid options are:
Windows user default account. Sends email using the user's Windows default email account. For most users, this is the account configured in Outlook or another email client application.
Server personal. Sends email using the email configuration for the system or company server and the email address on the current user's authorized user record. The authorized user record must have a confirmed email address.
Server generic. Sends email using the email configuration and "from" address for the system or company server. This option requires "Send generic" access to the Server Email resource.
To
The email address(es) to which to send the email. Separate email addresses with semi-colons.
CC
The email addresses to copy on the email. Separate email addresses with semi-colons.
BCC
The email addresses to blind copy on the email. Separate email addresses with semi-colons.
Subject
The subject line.
Text box
The body of the email.
Note
If you fail to print, preview, or email T4 slips, ActivityHD reminds you that you should. Click OK to dismiss the reminder.
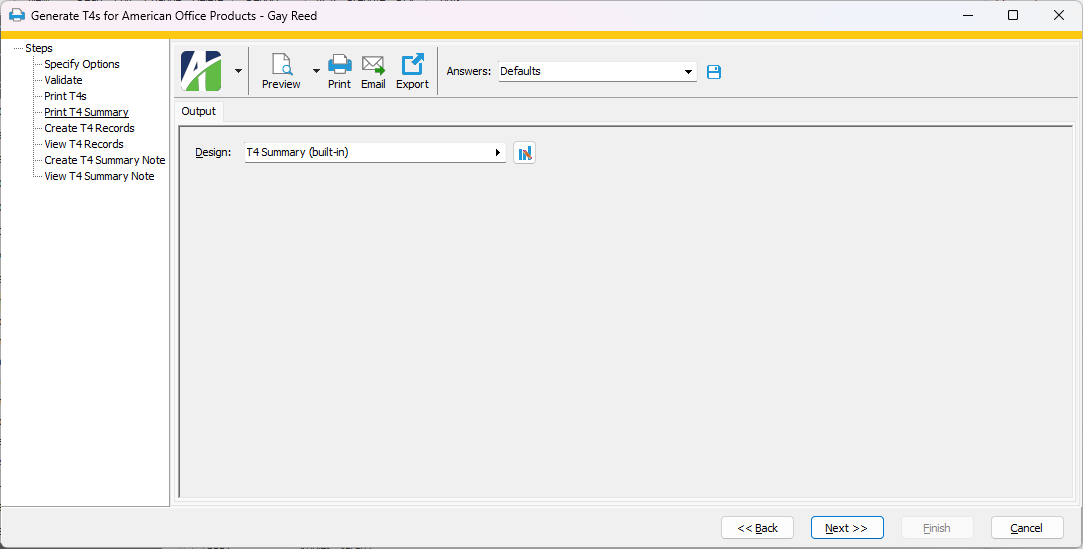
Click Next >>. The Output tab for the T4 Summary displays. In the Output tab, choose the form you want in the Design field.
In the toolbar, click the icon for the type of output you want:
- Provides access to two preview options.
Preview - Click the icon or click the drop-down arrow and select Preview from the drop-down menu to view the report in the Crystal Reports viewer.
Preview to PDF - Click the drop-down arrow next to the icon and select Preview to PDF to view the report in the PDF reader.
- Opens the Print dialog so that you can select and configure a printer and then print a paper copy of the report.
- Opens the Report Email dialog so that you can address and compose an email that the report will be attached to. For best results, ensure your email client is running before you attempt to send a report via email.
- Opens a drop-down menu with two export options:
Export Report - Opens a dialog so that you can save the report to a file. File types include Crystal Reports (.rpt), PDF (.pdf), Microsoft Excel (.xls), Microsoft Word (.doc), rich text (.rtf), and XML (.xml).
Export Data - Opens a dialog so that you can export report data to XML or JSON file format.
From
The email account from which to send the email. Valid options are:
Windows user default account. Sends email using the user's Windows default email account. For most users, this is the account configured in Outlook or another email client application.
Server personal. Sends email using the email configuration for the system or company server and the email address on the current user's authorized user record. The authorized user record must have a confirmed email address.
Server generic. Sends email using the email configuration and "from" address for the system or company server. This option requires "Send generic" access to the Server Email resource.
To
The email address(es) to which to send the email. Separate email addresses with semi-colons.
CC
The email addresses to copy on the email. Separate email addresses with semi-colons.
BCC
The email addresses to blind copy on the email. Separate email addresses with semi-colons.
Subject
The subject line.
Text box
The body of the email.
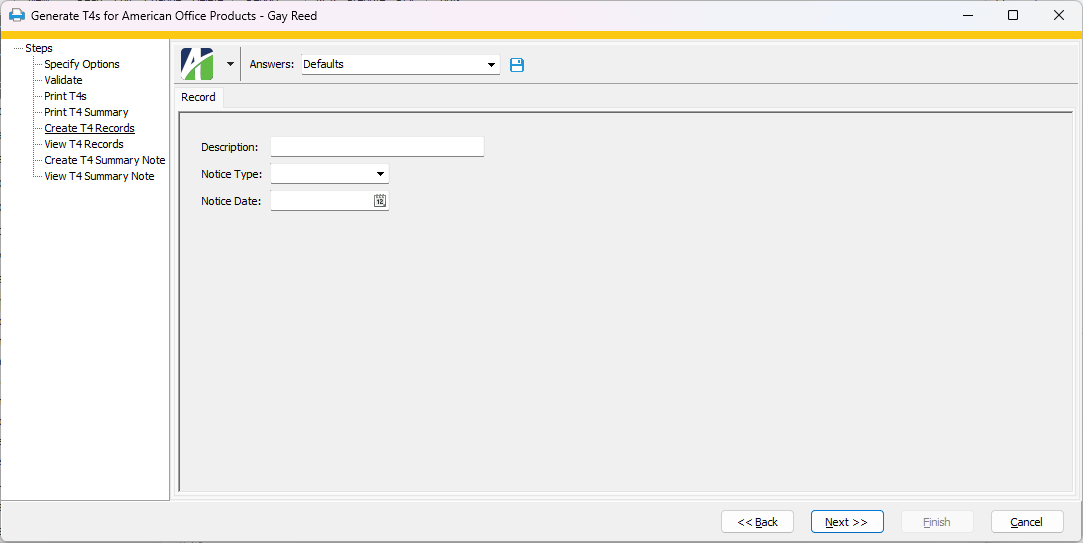
Click Next >>. The Record tab displays.
Enter a Description to associate with the T4 records you are creating.
From the Notice Type drop-down list, select how to deliver T4 notices. Your options are:
(blank)
Mail
Email
Web
Other
In the Notice Date field, enter the notice date for T4 records.
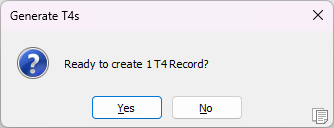
Click Next >>. ActivityHD prompts you to confirm that you're ready to create T4 records.
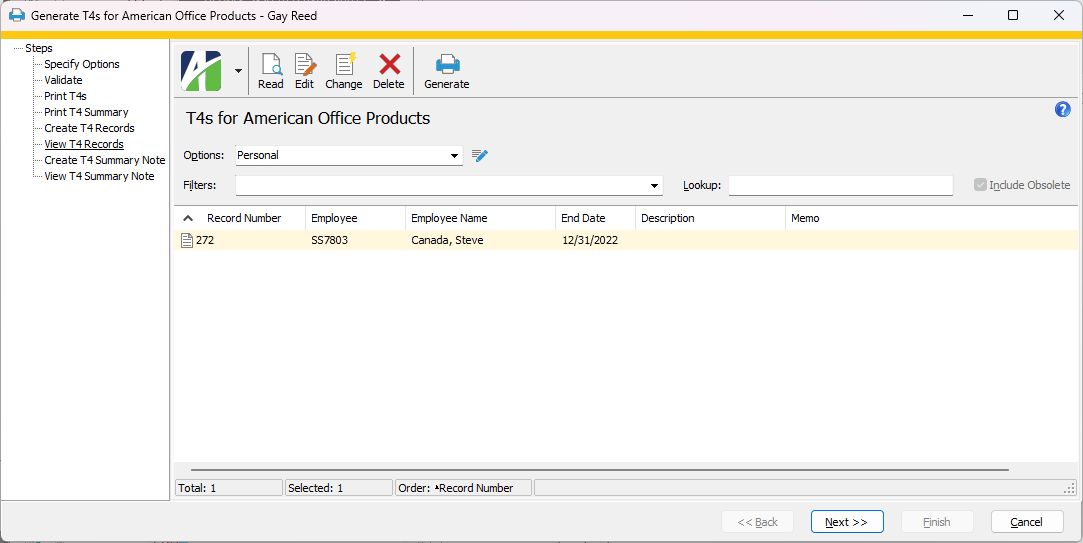
Click Yes. ActivityHD creates the T4 records for each employee in your selection and attaches a PDF of each employee's T4.
At this point, you can double-click the items in the right pane to drill down to the underlying T4 records.
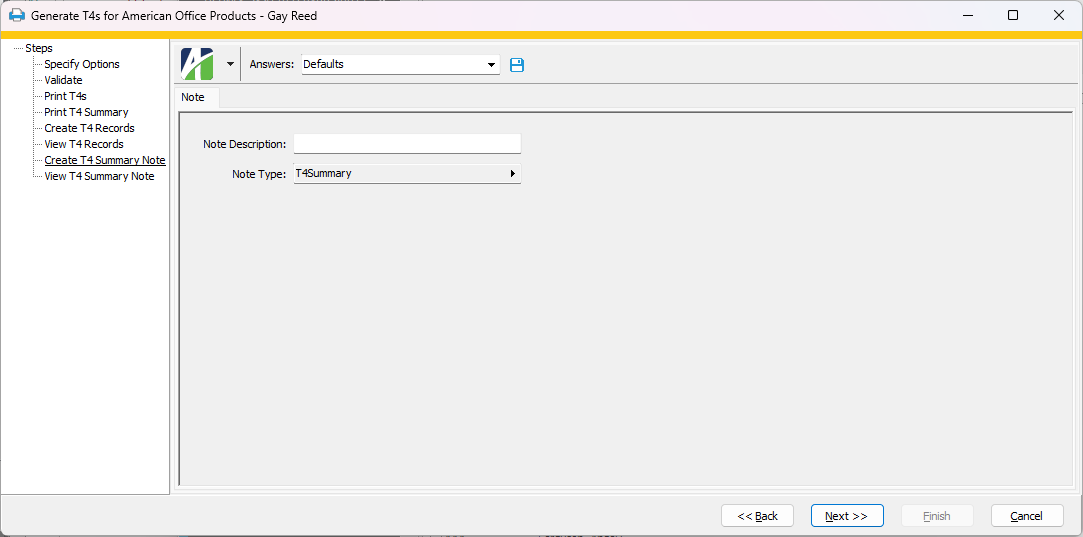
Click Next >>. The Note tab displays.
Enter a Note Description for the T4 Summary note.
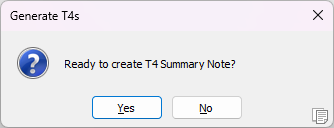
Click Next >>. ActivityHD prompts you to confirm that you're ready to create the T4 Summary note.
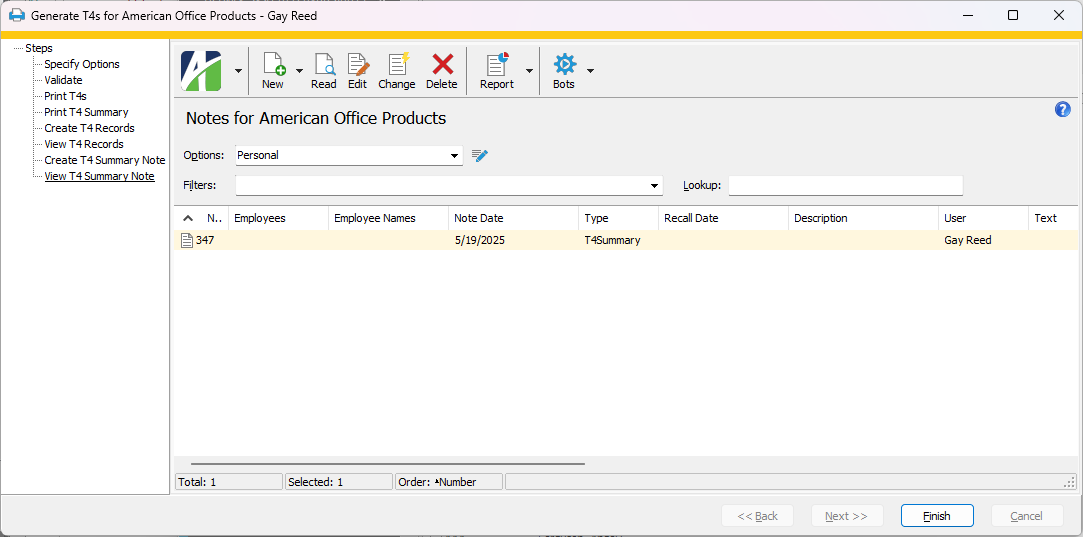
Click Yes. ActivityHD creates the T4 Summary note and attaches a PDF of the T4 Summary to it. The note contains references to each of the records created in the process.
At this point, you can double-click the T4 Summary item in the right pane to drill down to the actual T4 Summary note.
The XML data file of T4 information for submission to the Canada Revenue Agency is created using the Employee Create Totals wizard in conjunction with the T4 Slips XML export control.
Setup
Before you create the electronic file, do the following to prepare:
In the Navigation pane, highlight the Payroll/Human Resources > Setup > Tax Entities folder.
In the HD view, locate and double-click the "CAN" tax entity record to open it in the Tax Entity window.
Inspect the Employer ID field and ensure that it matches your employer's account number (also known as "business number"). If it is incorrect, enter the correct value.
If you changed the value, save your changes.
Generate the electronic T4 file
In the Navigation pane, highlight the Payroll/Human Resources > Employees folder.
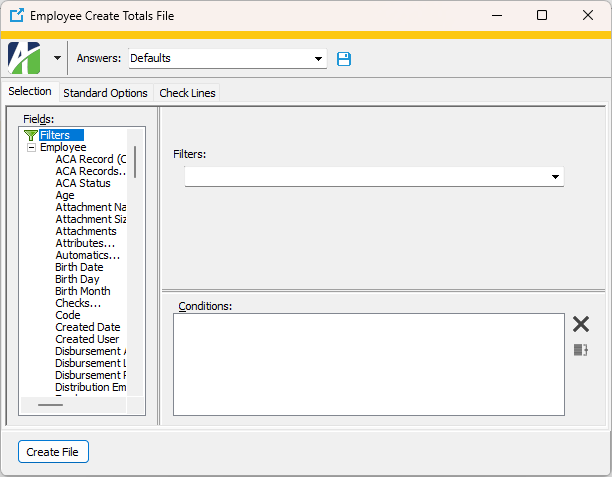
Right-click the Employees folder and select Select and Create Totals File from the shortcut menu. The Employee Create Totals File wizard starts.
On the Selection tab, define any filters to apply to the data.
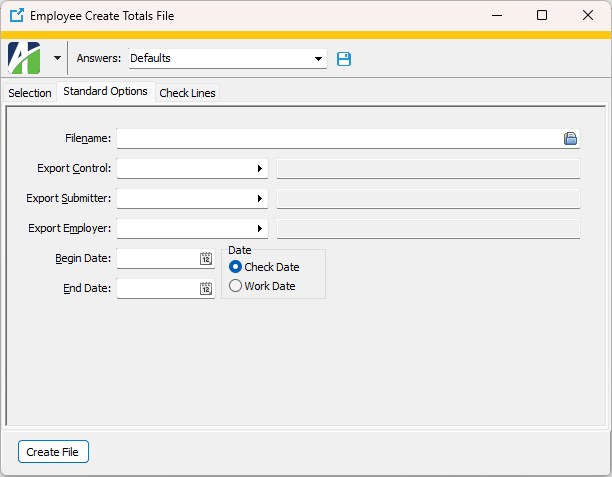
Select the Standard Options tab.
In the Filename field, enter the path and file name for the export file or browse to the location. Append .xml as the file extension.
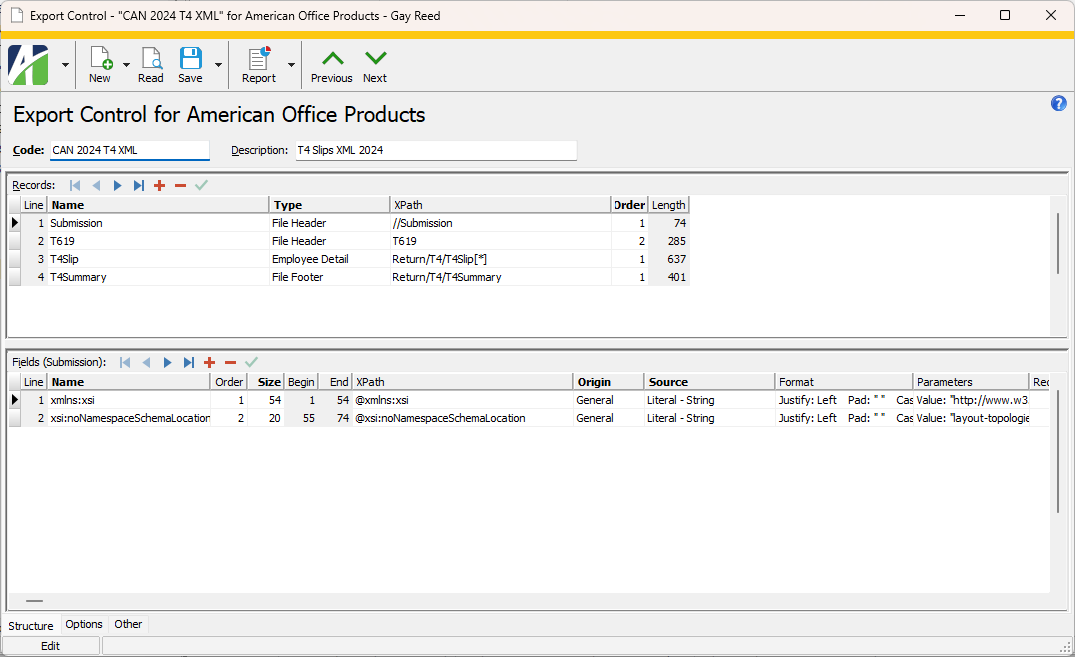
In the Export Control field, select the appropriate T4 Slips.XML file.
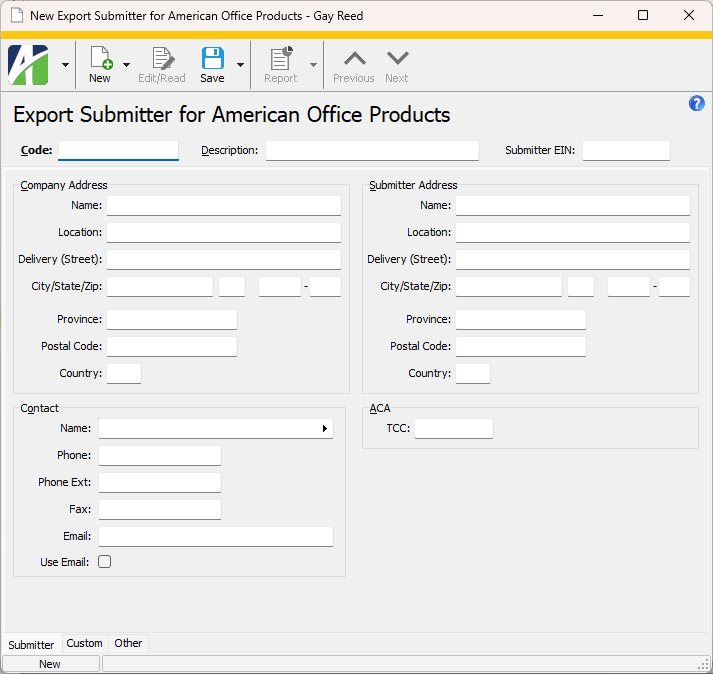
In the Export Submitter field, select the export submitter record to use for creation of the T4 electronic file.
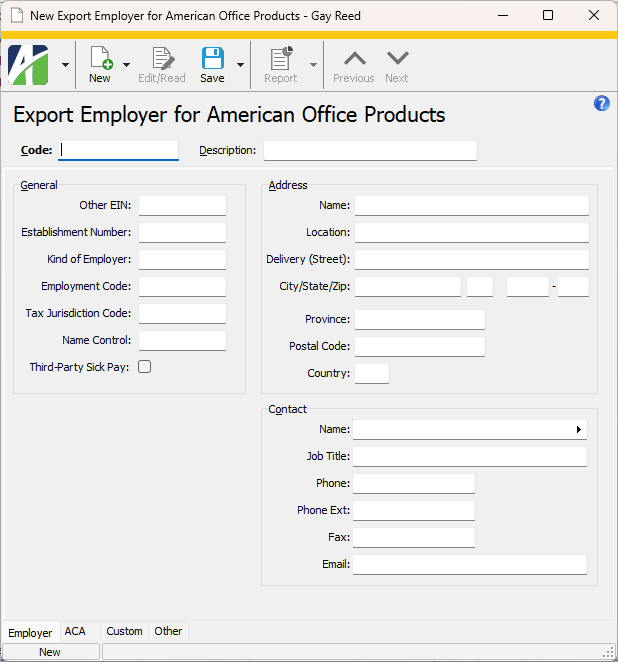
In the Export Employer field, select the export employer record to use for creation of the T4 electronic file.
In the Begin Date and End Date fields, enter the range of dates for which to include information in the totals file.
In the Date field, select the type of date to use to limit employee group totals by. Your options are:
Check Date. Selects check lines by the date on the check which contains the check line.
Work Date. Selects check lines by the work date on the check line.
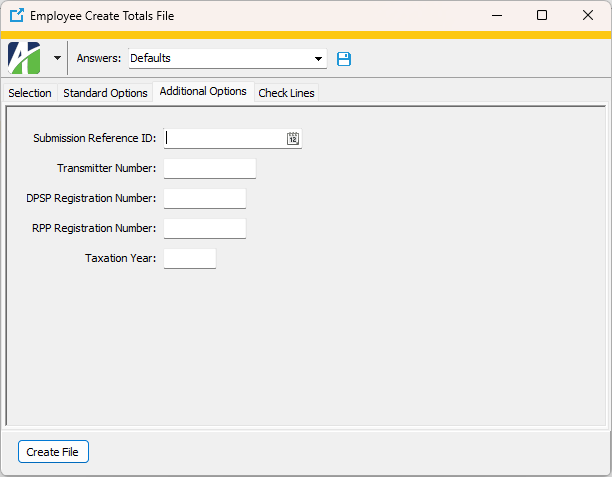
Select the Additional Options tab.
In the Submission Reference ID field, enter a string of up to eight characters to uniquely distinguish the submission file. (In the image above, the reference ID is set up in the export control as a date field; however, in general, this field need not be a date.)
In the Transmitter Number field, enter the electronic media transmitter number assigned to you by the Canada Revenue Agency (CRA). The transmitter consists of the letters "MM" followed by a six-digit number (e.g., MM999999). If you are a new transmitter and have not been assigned an electronic media transmitter number, call the CRA at 1-800-665-5164.
In the DPSP Registration Number field, enter your deferred profit sharing plan registration number.
In the RPP Registration Number field, enter your registered pension plan registration number.
In the Taxation Year field, enter the year for which you are submitting T4 information.
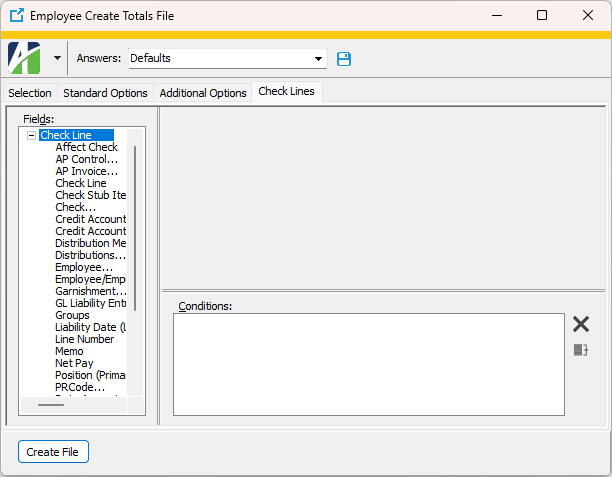
Select the Check Line tab.
On the Check Line tab, define any conditions you want to apply to the check line data.
Click Create File. ActivityHD notifies you that the file was created successfully.
Click OK.
Validate the XML file
Before you submit it, you should validate the XML file. To do so, download the schema and validating parser from the CRA. The CRA website also recommends several XML editors which provide a validating parser.
The following steps describe in general terms how to validate the file:
Download the XML schema zip file from the CRA.
Unzip the file.
Copy the .xml file created by ActivityHD to the directory where you unzipped the schema.
Open the .xml file in an XML editor and run the editor's XML validation option.
Submit the XML file
Before you can file online, you need a web access code (WAC). If you do not already have a WAC, you can apply for one here.
Once you have a WAC and your file is prepared, go here to transfer the file to the CRA.
The Generate Canadian ROE File wizard produces the ROE bulk transfer file for uploading to the Service Canada ROE website to create draft Records of Employment (ROEs). Draft ROEs can be updated and submitted from ROE Web.
Before you can generate the ROE file, some preparation is necessary.
Create a group to calculate total insurable hours: RepROEHours.
Create a group to calculate total insurable earnings: RepROEEarn.
Create a GL calendar with periods which match the reporting payroll period. The calendar must have periods defined for the date ranges being reported.
Create a custom field on the Employees folder named "ROE Reason Code" with a data type of "Text" and a length of "1".
The following information is required on any employees included in the ROE file:
Social insurance number
First and last name
At least one address line
A status of "Employed" for at least one day. This implies the employee must have at least two statuses: one with the Employed checkbox marked and the last status with the Employed checkbox unmarked.
To generate the file:
In the Navigation pane, highlight the Payroll/Human Resources > Employees folder.
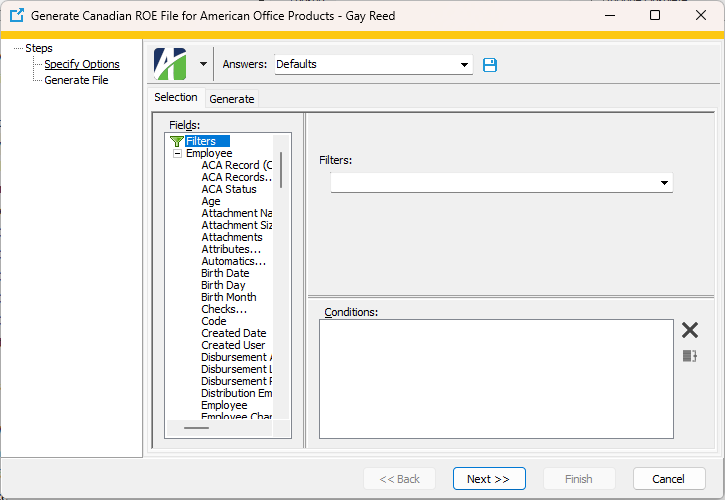
Start the Generate Canadian ROE File wizard.
To generate the ROE file for all or a filtered subset of employees:
Right-click and select Select and Generate ROE from the shortcut menu.
On the Selection tab, define any filters to apply to the data.
Note
ROE Web requires that the ROE file have fewer than 911 employees.
To generate the ROE file for specifically selected employees:
In the HD view, select the employees to generate the ROE file for. You can use Ctrl and/or Shift selection to select multiple records.
Click .
To generate the ROE file for a particular employee from the Employee window:
In the HD view, locate and double-click the employee to generate the ROE file for. The Employee window opens with the employee record loaded.
Click .
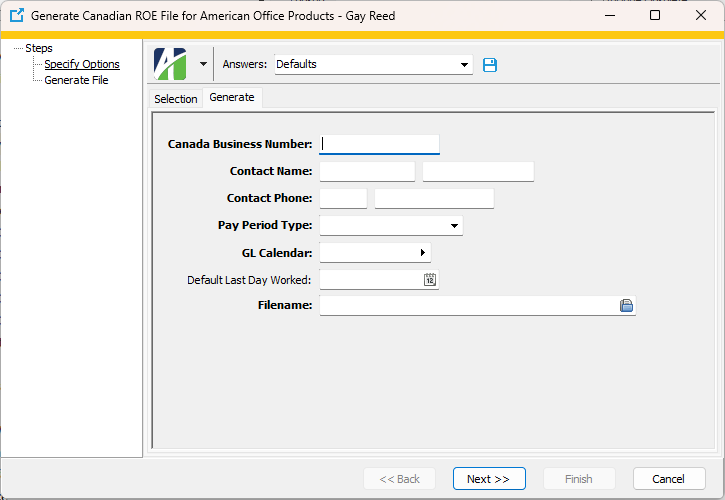
Select the Generate tab.
In the Canada Business Number field, enter the Canada Revenue Agency (CRA) Payroll Account Number. This is the number you use to report employees' payroll deductions to the CRA. The number has the following 15-character format: #########XX####, where "#" represents numbers and "X" represents letters. The business number must begin with 1, 7, or 8.
In the Contact Name fields, enter the first and last names of the person to contact about the ROE file.
In the Contact Phone fields, enter the area code and phone number of the contact person. The phone number must be exactly seven digits with no formatting characters.
From the Pay Period Type drop-down list, select the pay period type for the employees. Your options are:
B: Bi-Weekly
M: Monthly
O: Monthly, non-standard
S: Semi-Monthly
E: Semi-Monthly, non-standard
H: Thirteen per year
W: Weekly
In the GL Calendar field, select a GL calendar which matches the reporting pay period type.
In the Default Last Day Worked field, enter the date to use as the last day worked for employees who do not have a termination date. This date is used when the employee's last day worked cannot be calculated.
In the Filename field, enter the path and file name for the bulk upload file or click to browse to the location. The file extension must be ".blk". If there is another file in the saving location with the same name, ActivityHD overwrites it with the generated file. ROE Web uses the file name to group draft ROEs.
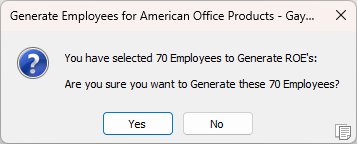
Click Next >>. ActivityHD prompts you to confirm your action.
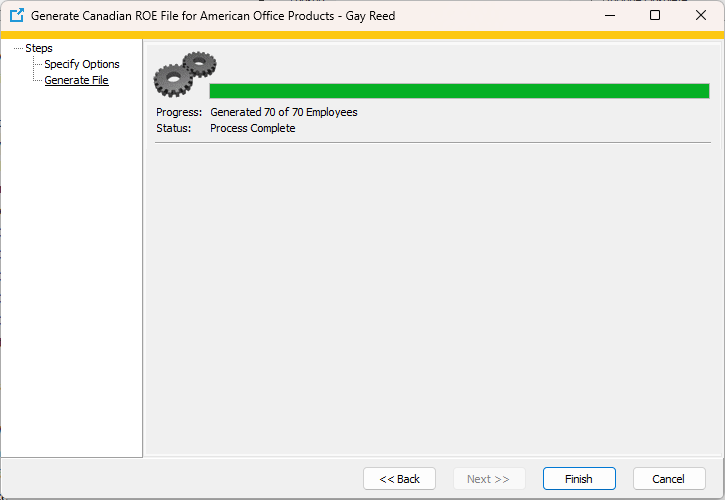
Click Yes. ActivityHD generates the file and reports its results.
Click Finish.
Tip
Use saved answers to save the option settings on the Generate tab so that you can reuse them the next time you run this process. Use a different saved answer for each reporting business you create ROE files for.
What's next?
The remainder of ROE processing occurs on ROE Web.
Note
Before you attempt to upload the ROE bulk transfer file to ROE Web, ensure that your system meets the ROE Web system requirements.
Following the instructions on the website, upload the ROE bulk transfer file.
Review and update the ROEs. Since the generated file contains only the required information for the transfer, use the website to add more information such as reported vacation pay, statutory holiday pay, and other monies.
After you finish reviewing and updating the draft ROEs, submit them.
Note
Draft ROEs are removed from ROE Web after 15 days.
 Generate and Print T4s for Canadian employees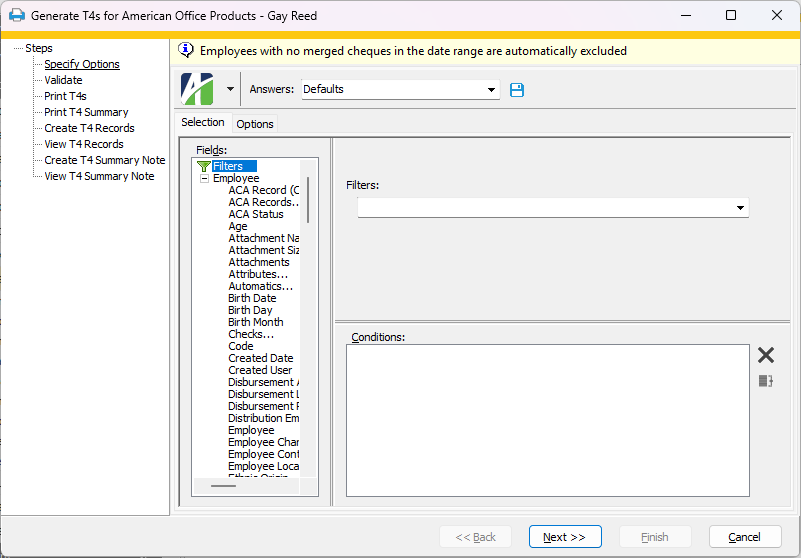
 > Edit > Generate T4s or right-click on the selected employees and select Generate T4s from the shortcut menu.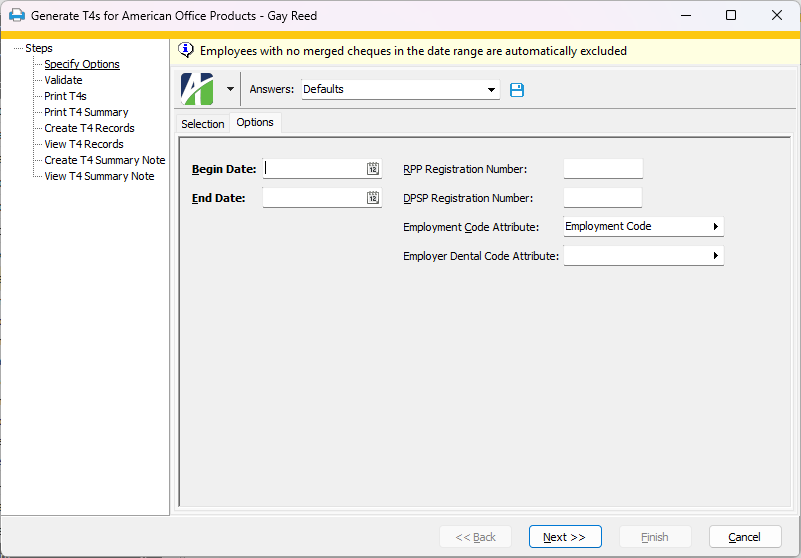
 - Provides access to two preview options.
 - Opens the Print dialog so that you can select and configure a printer and then print a paper copy of the report.
 - Opens the
  - Opens a drop-down menu with two export options: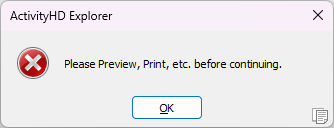
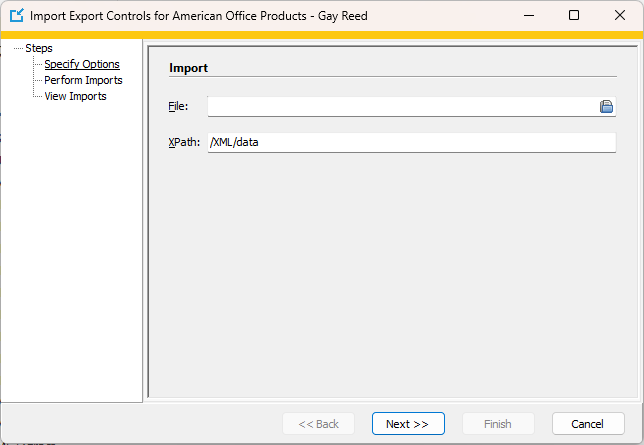
 and browse to the Extras > Payroll Canada > Export Controls folder of your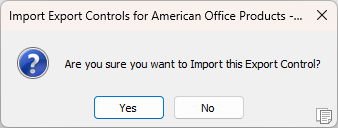
 . The New Export Submitter window opens.